The layout tools are used to automatically arrange tasks based on how they are connected to improve the readability of the visible sequence.
The layout tools provide various options to constrain how the layout is performed and can be used in various workflows to improve the visualization of the plan. The tool provides options to apply the layout on the selected tasks, all the tasks, or to turn off the layouts.
When the Selected Tasks (the default) is enabled, you will need to first make a selection, then the applicable layout buttons will be enabled. If the All option is enabled, all visible tasks will be arranged when you apply a layout.
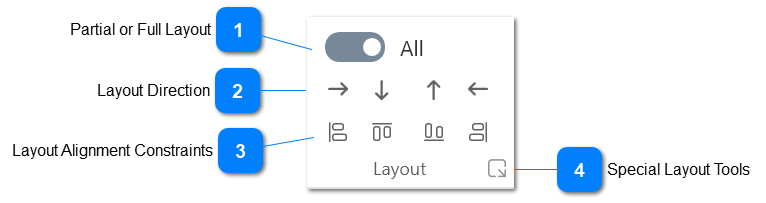
Partial or Full Layout
This slider button control the scope of the layout. You can set it to Selection to apply the layout only to the selected tasks or to All for a full layout. The middle setting disables the layout tools.
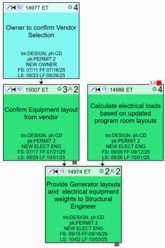
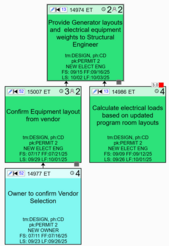
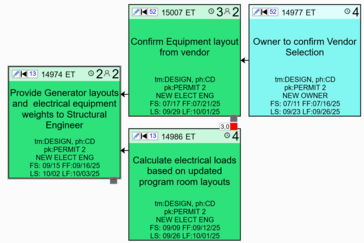
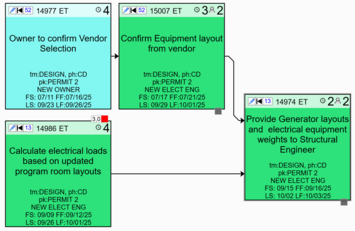
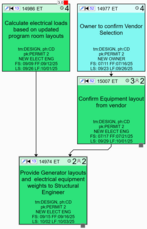
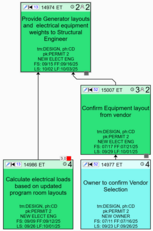
Use those tools to set the direction of the layout flow. It can be left-to-right, top-down, bottom-up, or right-to-left. Below are example of each of those options.
Use those tools to force the visible tasks at the start of each path in the plan to align. This kind of layout is highly effective when trying to screen the tasks for constraints. For example, in a top down layout, the first row will be the least constrained, the next row will be constrained by the first row tasks, and so on.
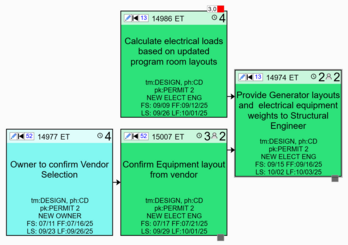
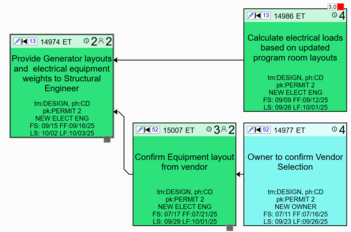
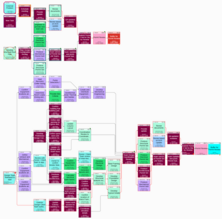
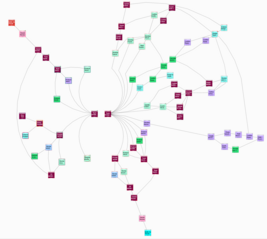
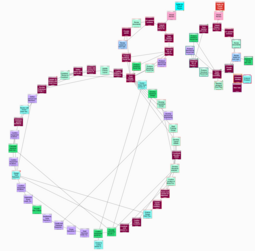
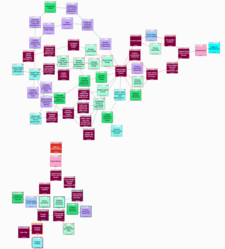
The layout tools in this section are experimental but can offer valuable insights about plan connectivity. Below are examples demonstrating how each layout is applied to the same tasks shown in the first image.