
Creating New Users
To create new users, the user with administrator level access has to follow the procedure given below:
-
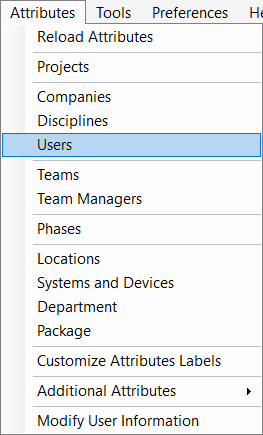
First, go to the Attributes Menu in vPlanner and click on the Users option to bring up the Manage Project Users dialog.
-
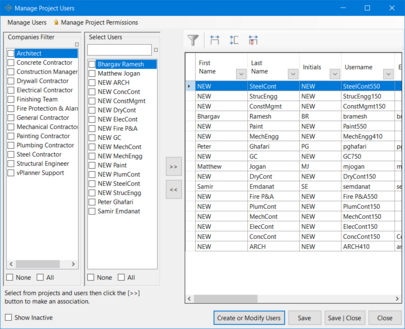
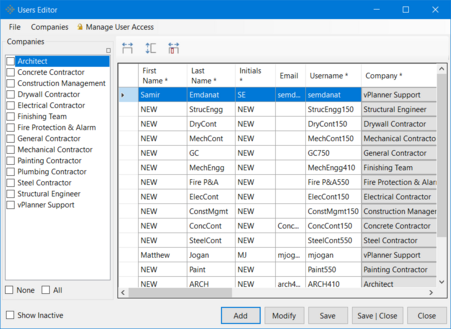
Click on the Create or Modify Users button in the Manage Project Users dialog. This brings up the Users Editor dialog. Here, click on the Add button to add or create a new user. This
-
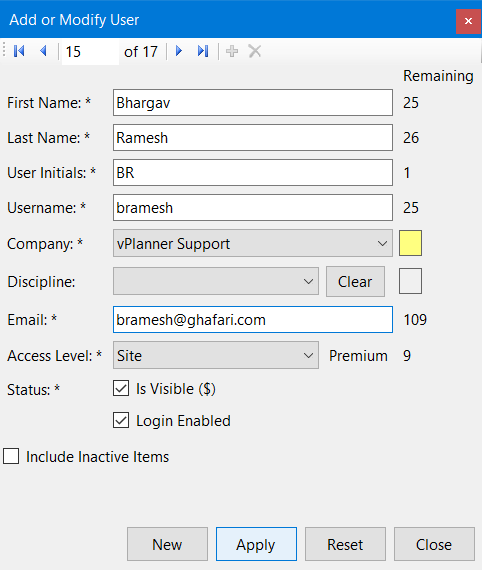
This brings up the Add or Modify Users dialog. Now Create a New User by entering appropriate data in the fields in the dialog as shown below. Click Apply to save the changes made and then Close the dialog.
User Creation Best Practices
-
A good practice for creating usernames is to use the FirstinitialLastname concept. For example Matthew Jogan's username would be mjogan.
-
Usernames must be unique. If a username already exists in the case there are two individuals with the same name, you can use numbers at the end of the username to make new ones (e.g. mjogan1, mjogan2).
-
To create a default password for new users, either type the password in the password field, or, click Reset to have vPlanner create a unique password for that user.
-
When the Status of a user is enabled (i.e., Is Visible field is checked), the License Manager tracks usage against that user (this is a paid feature for subscriptions that started in 2016).
-
If the Login Enabled field is unchecked, the user will not be able to login to vPlanner.
-
Click on the Save | Close button on both the Users Editor and Manage Project Users dialog to save and keep all the changes made since the time the dialog was opened.