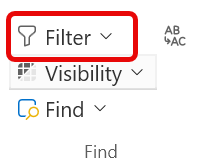
Depending on your screen size and resolution, the task filter icon may appear large or small. It may also just show the icon due to the responsive design of the ribbon.
Or
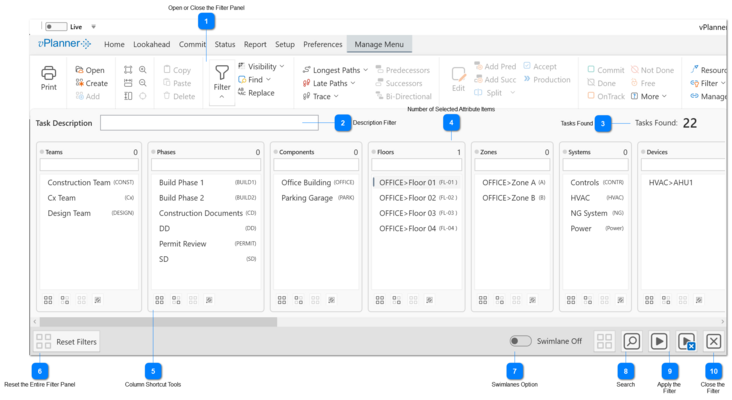
Use the task filter to isolate parts of the plan based on specific attributes that are assigned to the tasks. You can use the filter to reduce the display to the result of the filter by clicking the Apply button or adding the results to the view by clicking the Search button without hiding the existing tasks.
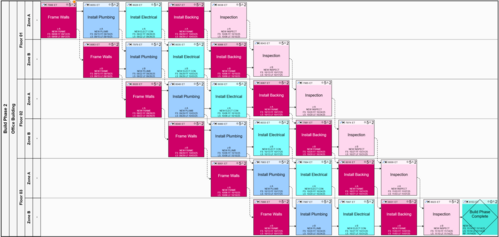
The Task Filter works the same in all the Working Views with one exception in the Manage View where you have the added option to filter the tasks without applying a Swimlane layout or Filter the tasks and apply a swimlane layout automatically.
The content shown in the filter will depend on the kind of attributes that are set up in the active project. The content is organized into columns. Only attribute types with defined values will be shown on the filter. For example if your project administrative users have not yet configured values for Teams or Phases, their associated columns will not be shown in the filter.
You use the filter by first making selections inside of the relevant columns by picking the attributes you wish to use in the search. vPlanner applies an OR search for selections in the same column and an AND search when you select across columns. The number of tasks found will be shown to the right side. You then click the Apply or Apply & Close buttons to show the tasks.
Open or Close the Filter Panel
Clicking the button will open the filter if it is closed. Clicking it again while the filter is open will close the filter panel.
You can filter tasks based on partial text that you type in the text box. If there are any tasks found that have matching text anywhere in the plan they will be included in the filter result.
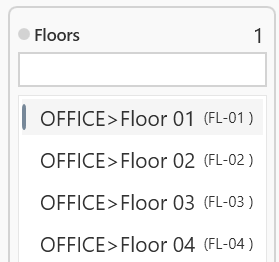
The number in the upper-right corner of a column indicates the number of selected attribute items under that column. It is helpful so you know if the column filter is active especially when you have hundreds of attributes defined under the column and the selections are out of the visible range. In the example here, one Floor is selected.
Use the text field at the top of the filter column to filter the items within the column to make easier to find things when there are hundreds of items in the column.
1st Button: Use this tool to select all the attribute items within a column with one click.
2nd Button: Use this tool to inverse the selection within a column in one click.
3rd Button: Use this tool to clear the selections within a column in one click.
4th Button: Use this tool to search for tasks that are not assigned to any attribute inside the column. This is good for QA/QC if you are trying to find tasks that are not yet properly assigned to attributes.
Use this button to reset the selections everywhere within the filter so you can start over with making new selection (note there is a similar button on the other side of the filter panel for convenience).
The filter panel will remember its previous selections between uses within the same Working View.
The Swimlanes toggle is available when opening the filter from the Manage View. It allows you to either apply the filter and show the tasks without a swimlane or apply a swimlane layout on the result automatically.
The filter will use the last used swimlanes layout if one is available or it will identify a suitable layout automatically.
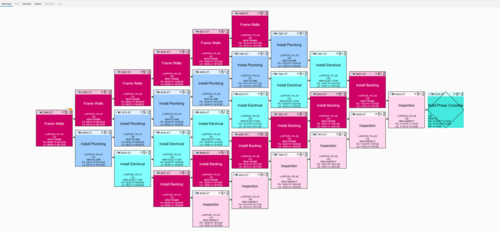
The search results are additive. Use the Search tool to add the results of the filter selections to the current view without hiding the currently visible tasks. The Search tool applies to the Manage View only.
The apply filter tools will hide all the visible tasks in the view and will replace them with the results of the filter. The first button will apply the filter without closing the filter panel, the second button will apply the results and close the filter panel in one step.

 Or
Or