
6.1. Simple Spreadsheet Import
This spreadsheet Import is available to Basic Users or higher when they are working in a Pull View or a Sandbox Box. It is also available to Premium users as part of the Import tools to bring tasks directly in the Manage View.
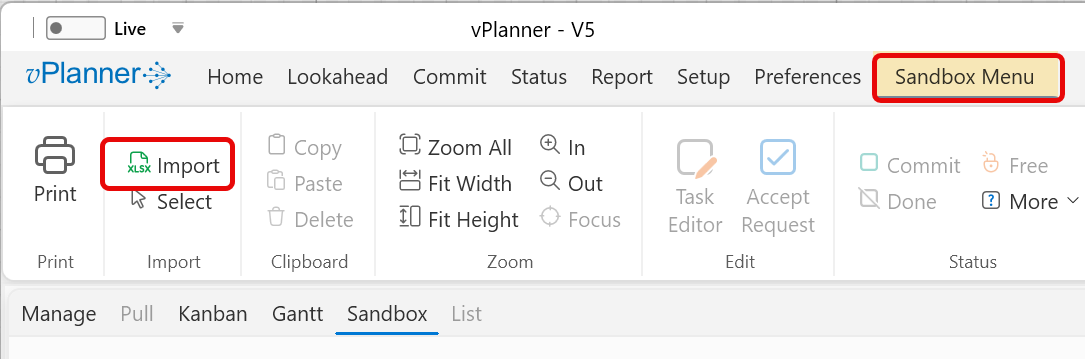
Figure 58 – Spreadsheet Import in the Sandbox
Click the Import ribbon button to open the Import from Excel window. Here you can either open an externally populated spreadsheet or you can copy and paste or type directly into the spreadsheet provided in the window.
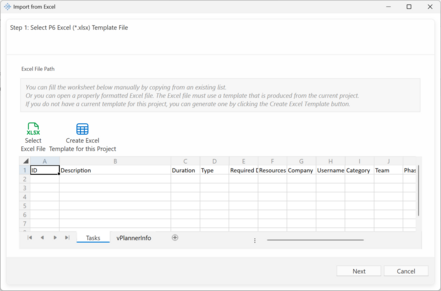
Figure 59 – Import from Excel
To import from an external sheet, first you need to create a template compatible with vPlanner. To do so, click the Create Excel Template for this Project and save the file to your local drive. You can now open the file in excel and fill it out. vPlanner will populate the template with pull downs filled with values from your project like company names, team names, categories, etc.
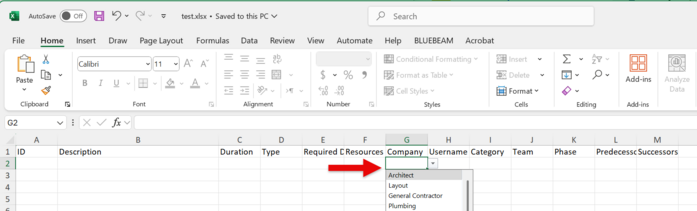
Figure 60 – Excel Template with Validation Rules
Regardless which way you choose, the sheet is filled out the same way and you can even open the external template and fix it in the provided sheet in the Import window.
Example
Here is an example of how to fill the sheet. Note that you do not need to fill all the values as vPlanner will fill in the missing information with defaults but at least you should have task Descriptions. In the below, task descriptions are provided. If you want to build logic ties, number the tasks with unique numbers under the ID column and use those IDs to describe logic ties under the Predecessors column separated by commas if needed. Use the pull downs to fill in predetermined values.

Figure 61 – Example Import Spreadsheet
Click the Next button after you open the external template or fill the sheet directly in vPlanner to go to the preview window. There you can fix the plan by adding logic ties, deleting logic ties or tasks. If you make a mistake, Click Previous and then Next to reset the preview. Once you are done, click Import to place the tasks in the plan.
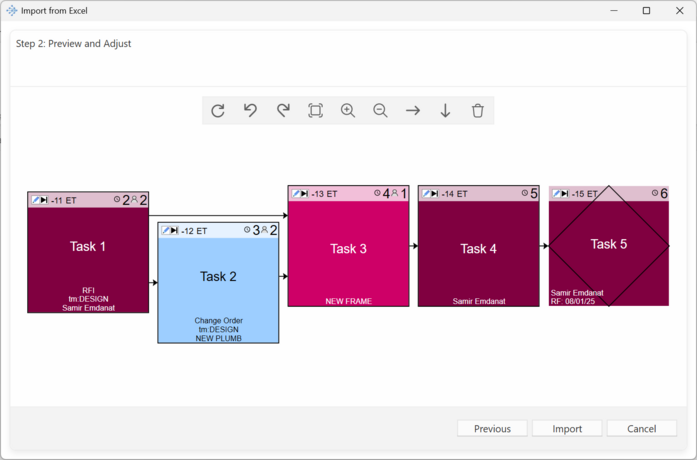
Figure 62 – Import Preview Screen
If the Imported tasks overlap with existing tasks (which is likely), click the Select button to select the imported tasks and then move them to a separate area on the board.

Figure 63 – Select recently imported tasks
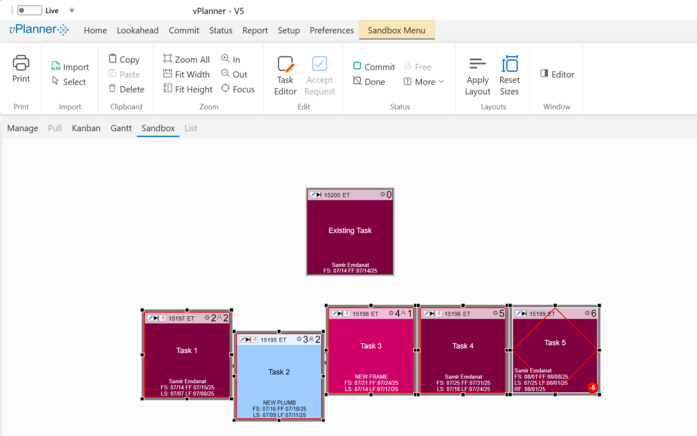
Figure 64 – Imported tasks selected and moved to clear an overlap